Step-by-Step Guide to 3D Printing Your First Car Part
3D printing offers an exciting way to create custom and replacement parts for your vehicle, right from your home. Whether you're new to 3D printing or an experienced hobbyist, this step-by-step guide will help you navigate the process of printing your first car part.
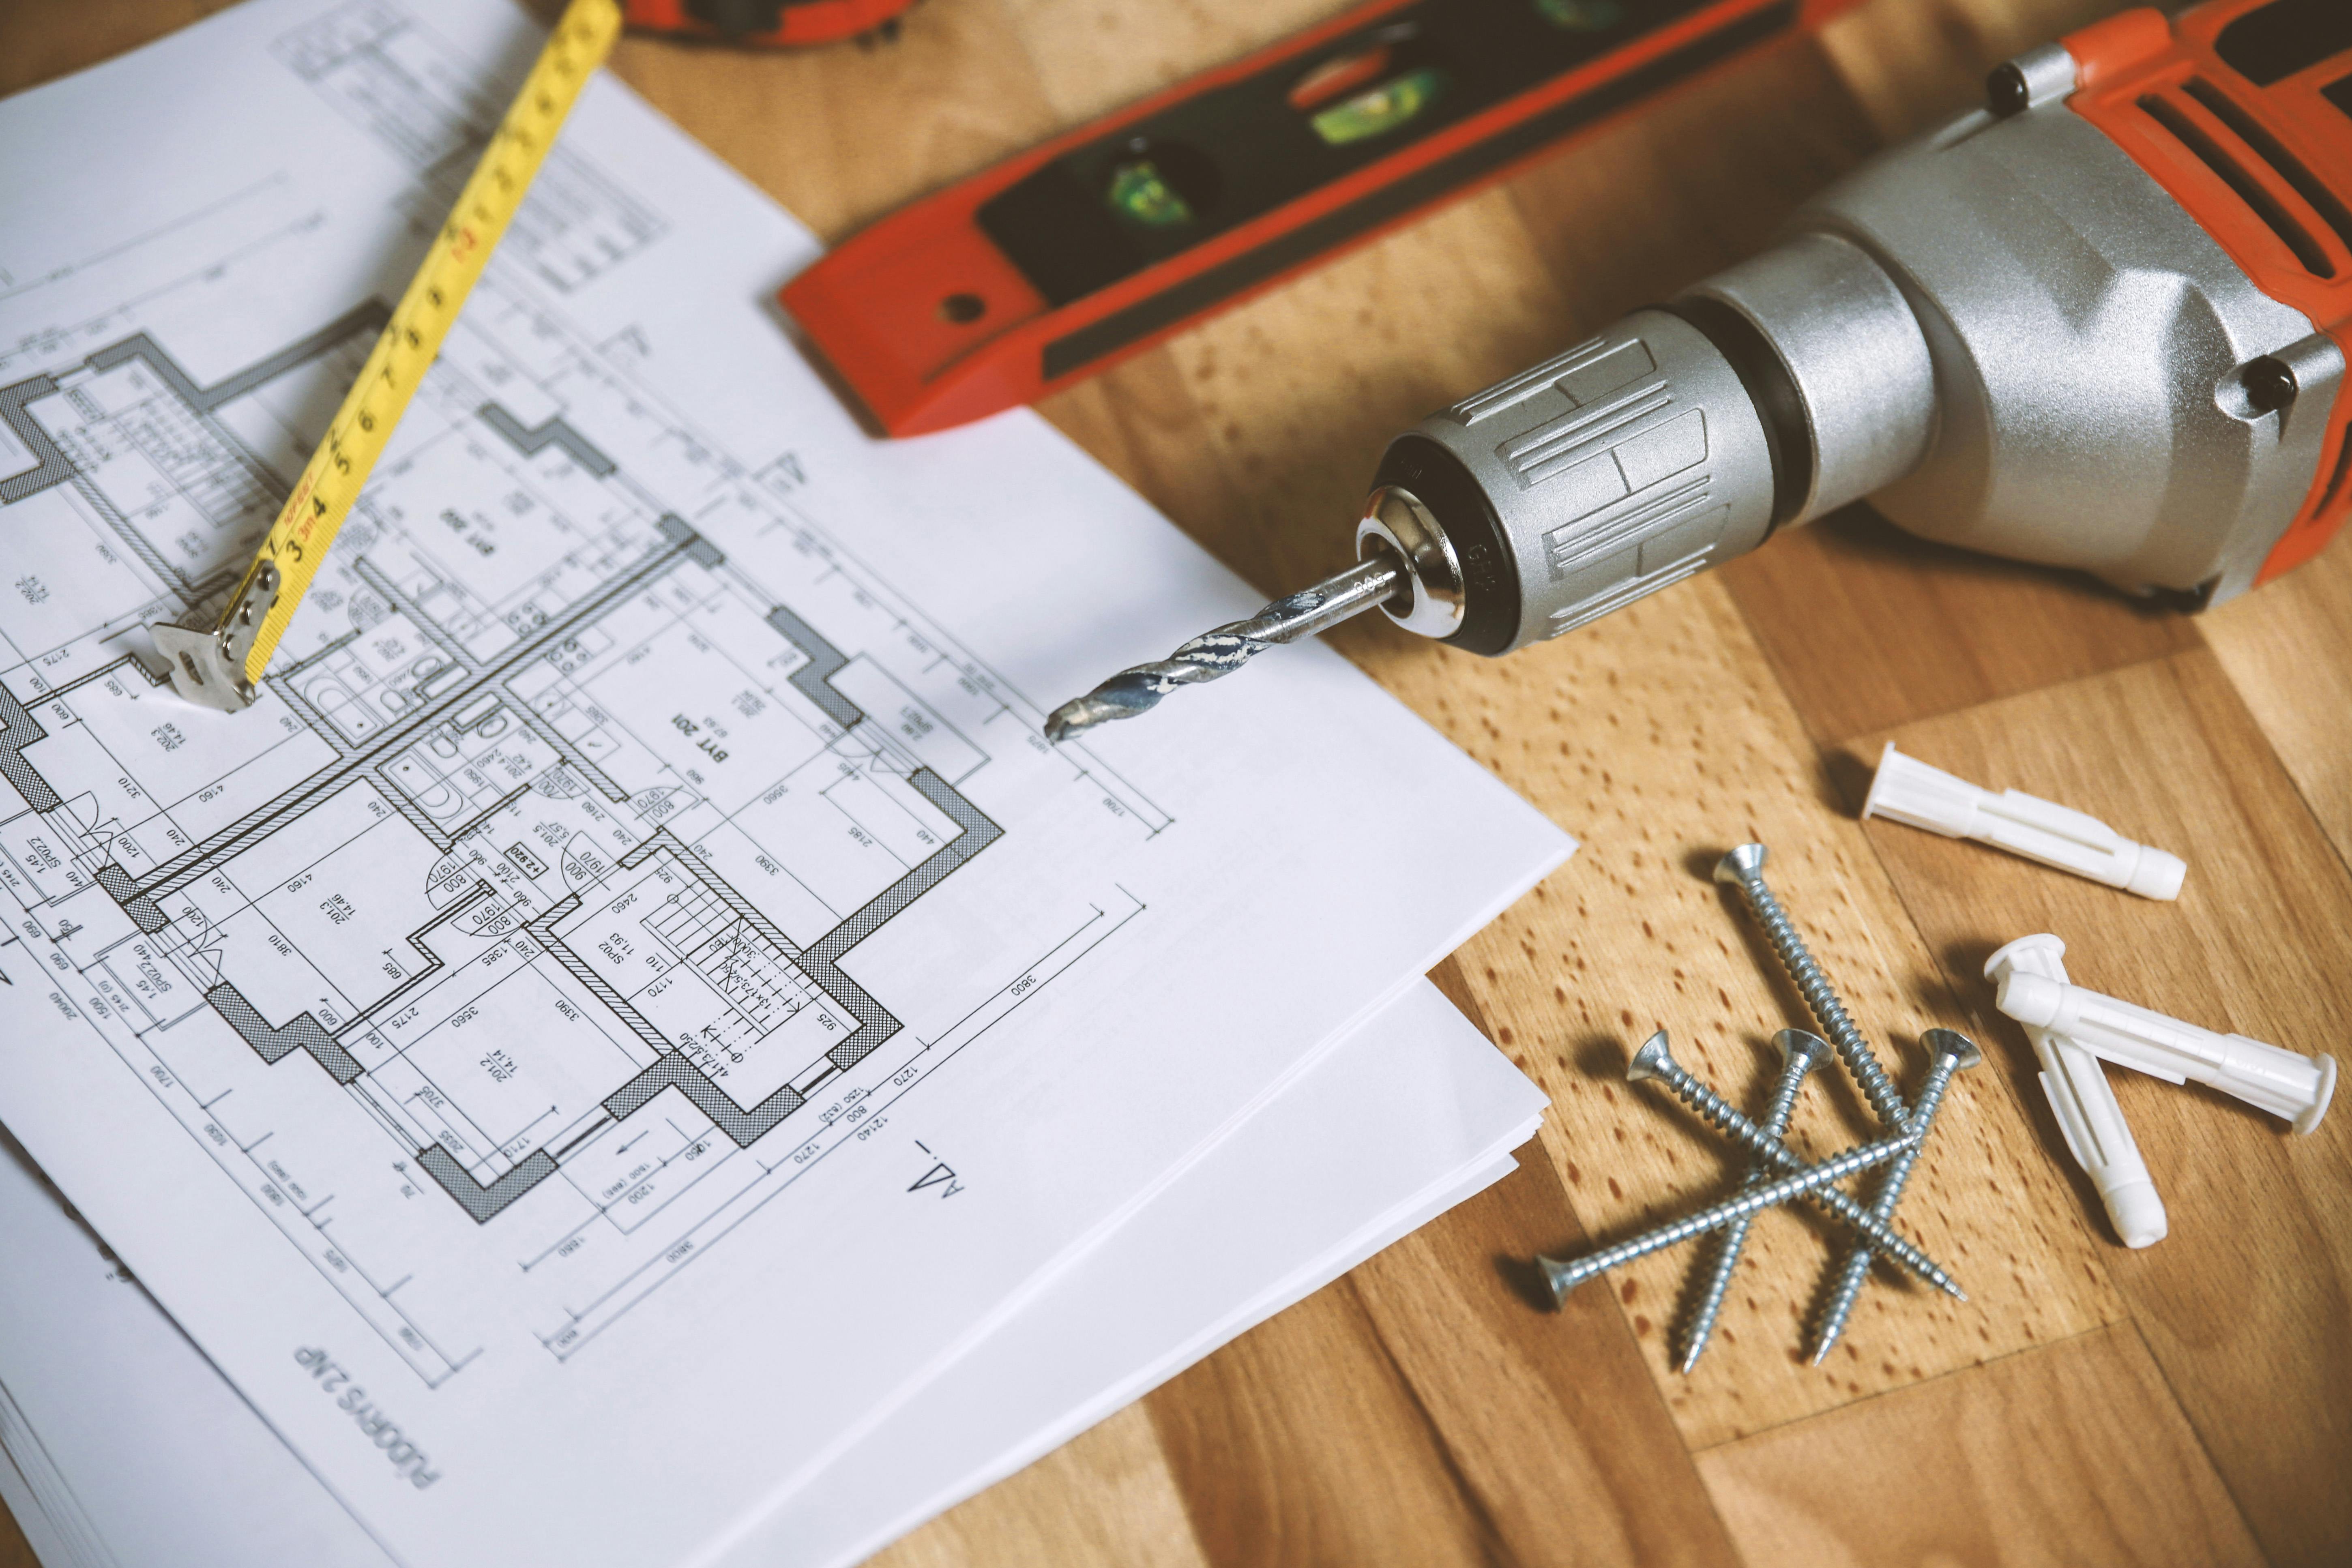
Gathering the Necessary Equipment
Before you begin, you'll need to gather some essential equipment. This includes a 3D printer, suitable printing material (such as PLA or ABS), and a computer to manage your 3D models. For beginners, we recommend printers like the Creality Ender 3 or the Prusa i3 MK3S.
Choosing the Right Car Part to Print
Selecting your first 3D printing project is crucial. Start with a simple yet useful part, such as a clip or a bracket. Consider the complexity of the part and ensure it is compatible with your vehicle's make and model.
Finding and Preparing the 3D Model
You can find a wide range of 3D models on platforms like Auto Print Parts. Once you've chosen a model, download it and use software like Cura or PrusaSlicer to prepare it for printing. This includes adjusting the size, orientation, and print settings.
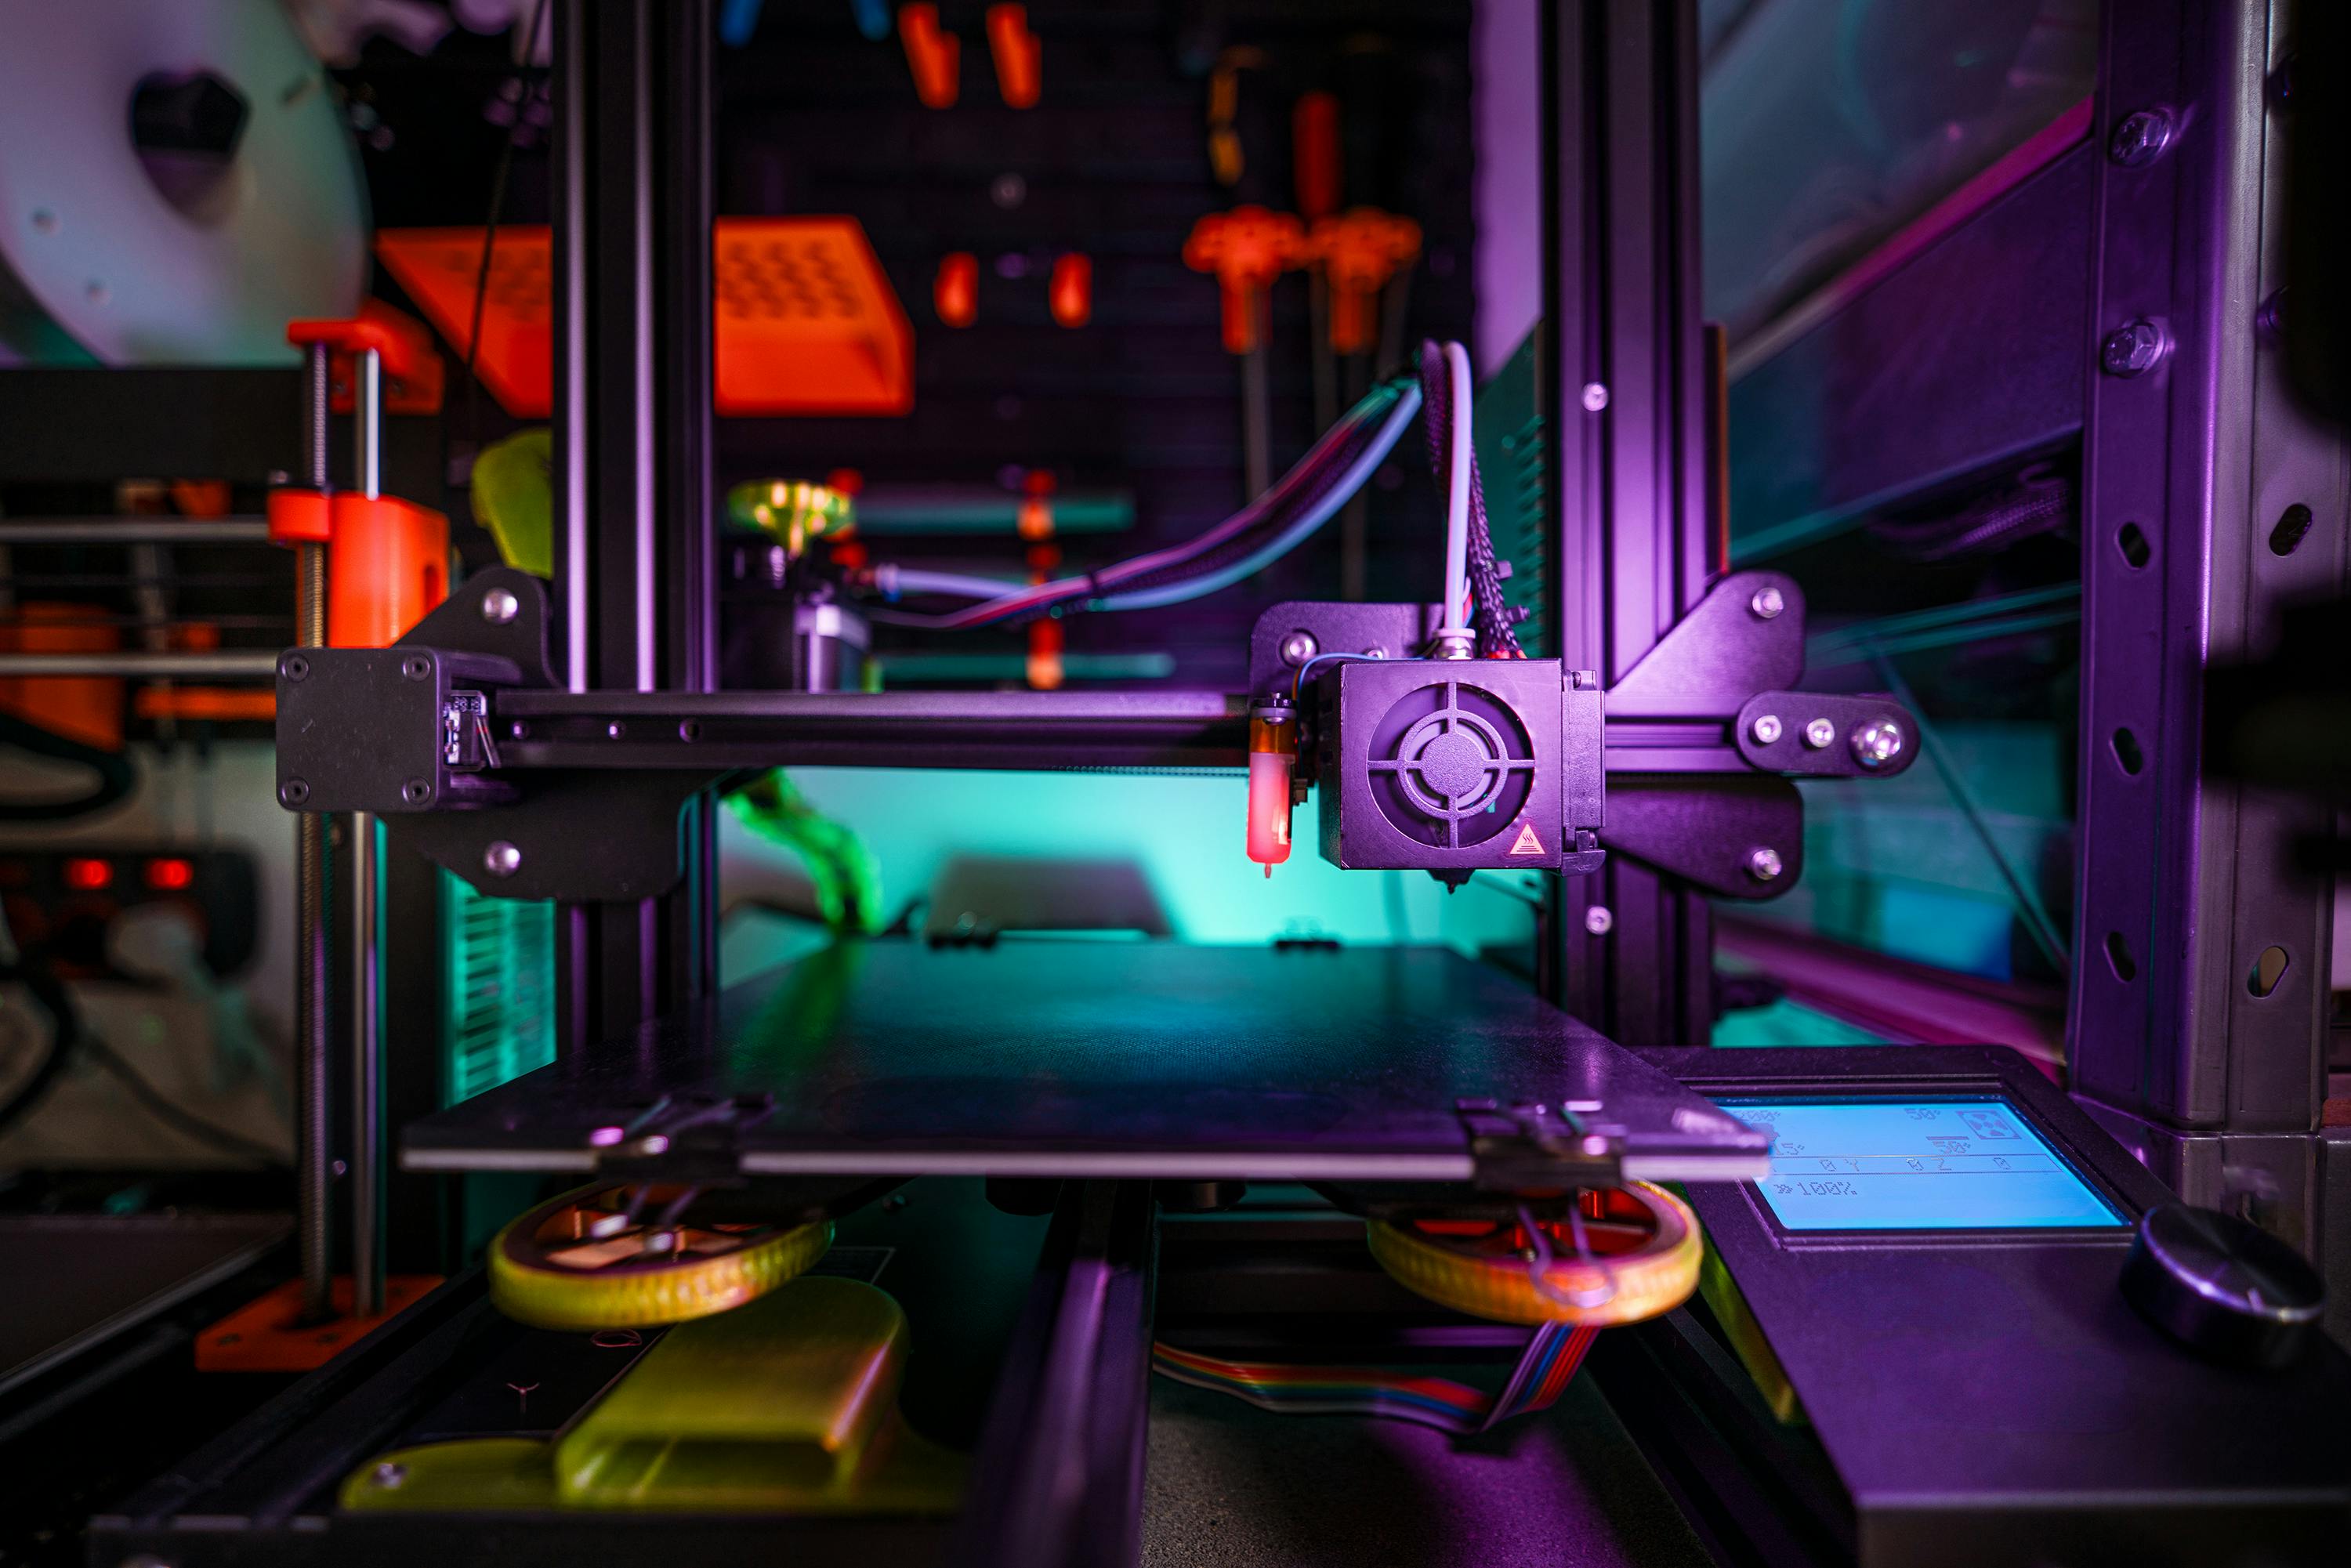
Setting Up Your 3D Printer
Setting up your 3D printer involves calibrating the bed, loading the filament, and running a test print. Follow the manufacturer's instructions carefully to ensure everything is set up correctly. Calibration is key to a successful print.
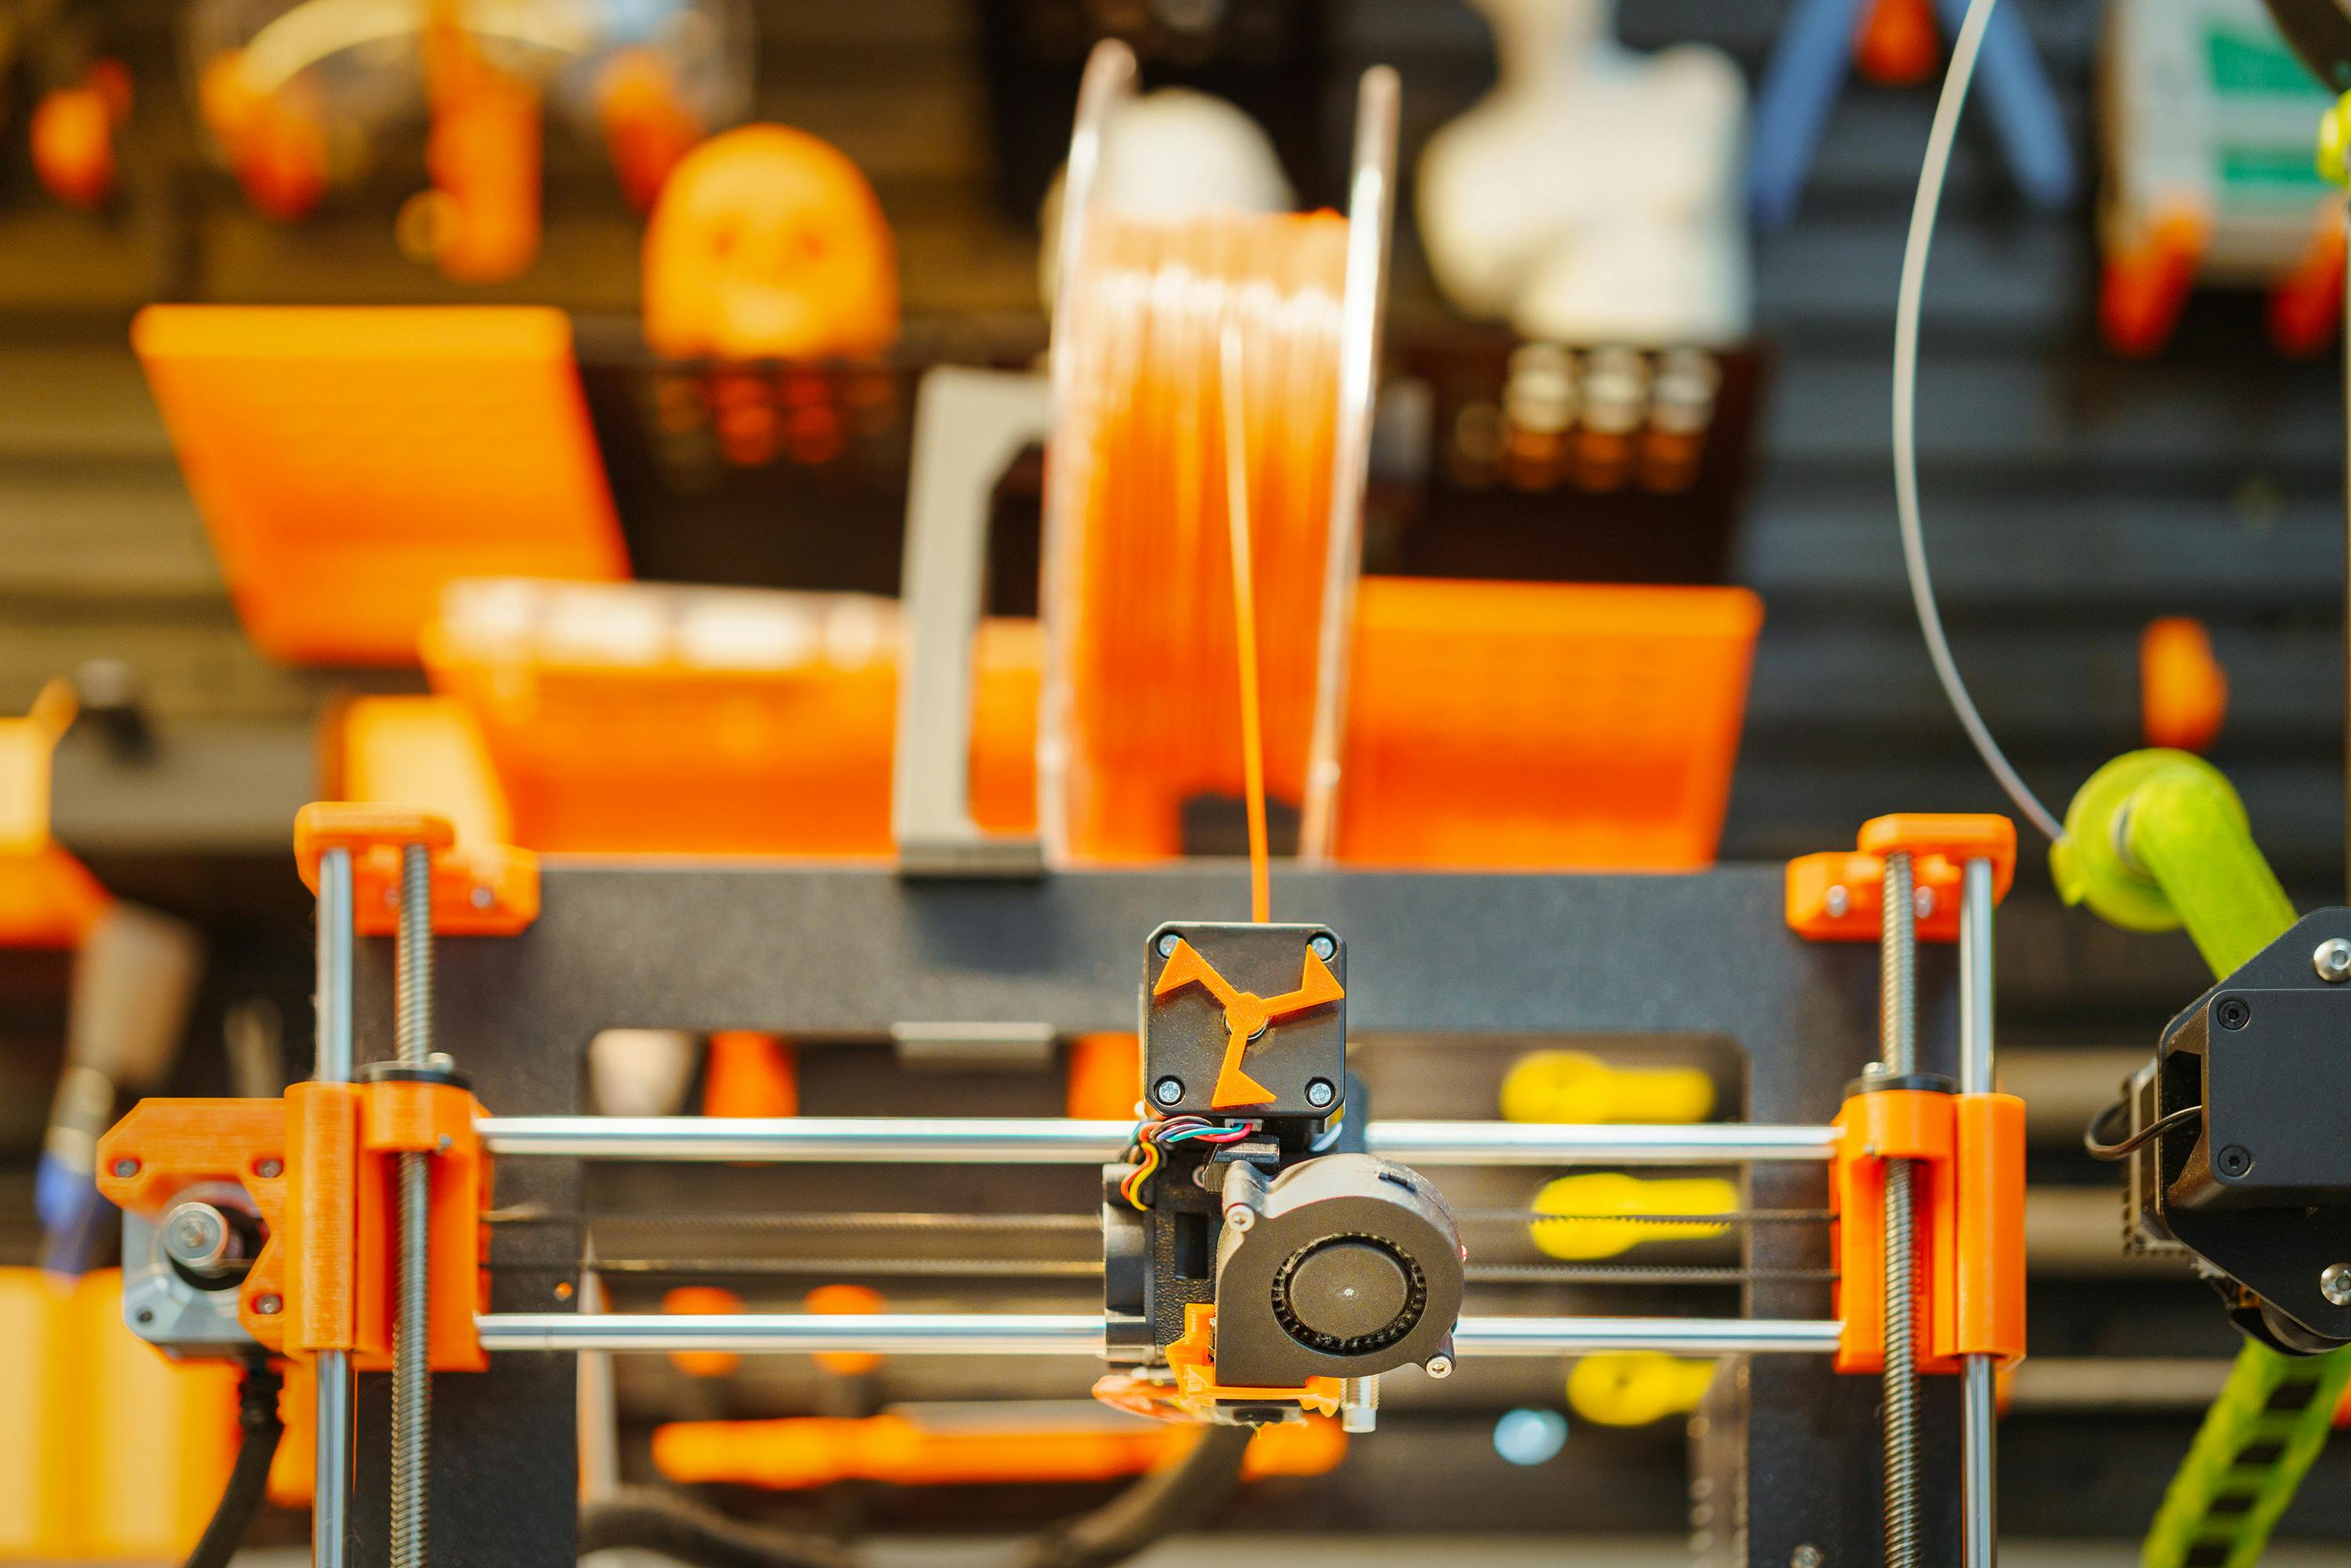
Printing the Car Part
Once everything is set up, start the print and monitor the process. Make sure the first layer adheres properly to the print bed. Keep an eye out for any issues like warping or clogging and be prepared to pause and adjust if necessary.
Post-Processing the Printed Part
After printing, the part may need some post-processing. This can include removing any support material, sanding rough edges, and painting or coating the part if necessary. These steps ensure the part is functional and looks good.
Installing the 3D Printed Part
Finally, install the 3D printed part on your vehicle. Follow the specific instructions for your car make and model to ensure a proper fit. Check the functionality and make any adjustments needed to ensure everything works smoothly.
Conclusion
Congratulations! You've successfully printed and installed your first 3D printed car part. This guide is just the beginning—there are countless projects you can undertake with 3D printing. Keep experimenting and enjoy the endless possibilities this technology offers.
Ready to start your next project? Visit Auto Print Parts to browse our extensive collection of 3D printable car parts.
Explore 3D Printable Parts